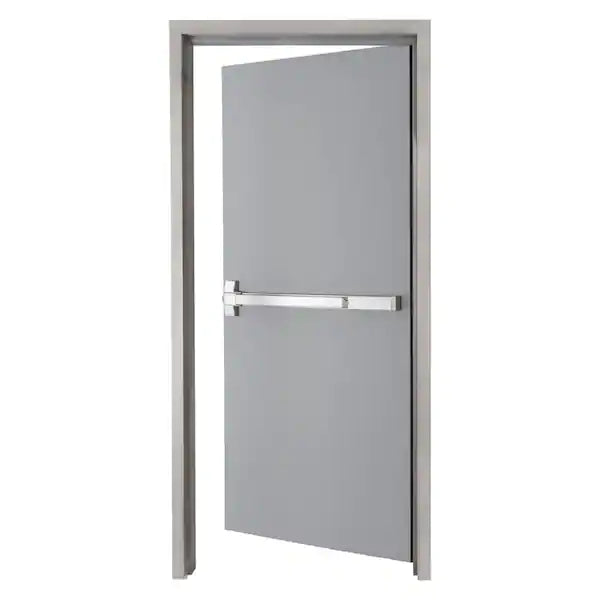
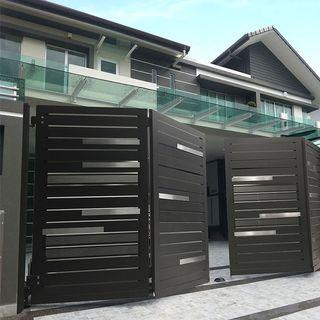
How to Transform Your Ordinary Door to a Barn Door

Doors vary in different shapes, sizes, and styles. You can either opt for a hinged door that swings or a sliding door that glides. So much of today’s homeowners tend to opt for sliding doors as it helps and offers space-saving functionalities.
Just like hinged doors, sliding doors also have several types ranging from pocket doors to bypass doors. Today, the most common style is a sliding soft closing barn doors, because of how it provides ease in opening and closing, sliding smoothly from left to right.
However, taking that big step towards DIY-ing sliding barn doors can seem overwhelming. Fortunately, we’re here to help and show you how easy it is to convert your hinged door into a sliding barn door. Whether you’re going for a full-on sprucing up of your home layout or just converting an area into a modern vintage look, sliding barn doors are perfect. They offer timeless beauty--and not to mention--added space throughout your entire home.
Ready to go from swing to sling? Here are four easy steps on how to transform your ordinary door to a barn door:
What You Will Need
Before jumping right into the steps on how to DIY your own sliding barn door, make sure you have everything you will be needing. Here’s a checklist to help you out:
🗹 a new door from a hardware store or could be your old hinged door
🗹 sliding barn door mechanism (from Magnificent)
🗹 nails and hammer
🗹 drill machine
🗹 pencil (for markings)
🗹 stud finder
🗹 screwdriver
Have everything you need now? Let’s start!
Step 1: Remove Hinges From Your Old Door
If you’re working your way from a hinged door towards a sliding barn door, the first step you need to do is to unhinge your old door and set it down for later. However, if you’re starting from scratch, or you just want to cover up and add a sliding barn door to your home’s floor plan, you can definitely skip this part.
Step 2: Add Hardware To Your Door
After removing your door interior and smoothening out rough edges, it’s time to add all necessary hardware to your door. During this step, you’ll now be using hammers, nails, and a drilling machine, so make sure that you take precautions. Or better yet, use safety gloves!
Also, make sure that everything you drill, hammer, and put nails into are perfectly leveled to avoid unnecessary mistakes and do-overs.
Step 3: Measure The Top and Locate Studs
After putting on every hardware on your door, it’s time to measure and locate studs on your wall, where you will be mounting the sliding barn door. Make sure that your railing system measurement extends to about twice as much the width of your door opening to avoid blockings when the door opens fully. Upon finding and marking studs, make sure to also allot an allowance of at least one inch of clearance at the bottom of the door. With that, you may also want to check the perfect level, whether or not these markings are perfectly straight and aligned.
Step 4: Install Railing and Hang The Door
Once you’ve measured (and double-checked) all marks and studs, it’s time to install the railing system. Secure the screws on the railing system for a nice hold, then you can also start placing stoppers on both ends.
Finally, once the railing system and all screws and other hardware are secured and held tightly and correctly, it’s time to attach the soft hang your door! Last step is to add the soft close mechanism. Now that you’ve turned your old, hinged door into a sliding barn door, the only thing left to do is give yourself a pat on the back and enjoy your home’s fresh, unique design.
Here’s to more DIY projects! For inquiries, you may call us at (632) 516-6341 or (632) 733-5738, and we’d be happy to help you out!


